
How to Fix Windows 11 Camera Not Working — The Privacy Toggle That Blocks Your Webcam From Every App
Your meeting starts in two minutes. You join the call and click the camera button to turn on your video. The camera icon activates in the meeting app, but the preview shows nothing — a black rectangle where your face should be. Or the app shows a message: “We can’t find your camera.”
The camera indicator light on your laptop is off. The webcam is not even trying to turn on. You check another video app — same result. You open the Windows Camera app — black screen. Your camera has simply stopped existing as far as Windows is concerned.
This happens so often that “camera not working Windows 11” is one of the most searched tech support queries every single month. And in the overwhelming majority of cases, the camera hardware is perfectly fine. The problem is a Windows privacy setting that silently blocks camera access without any notification or error message.
The Privacy Kill Switch Nobody Checks
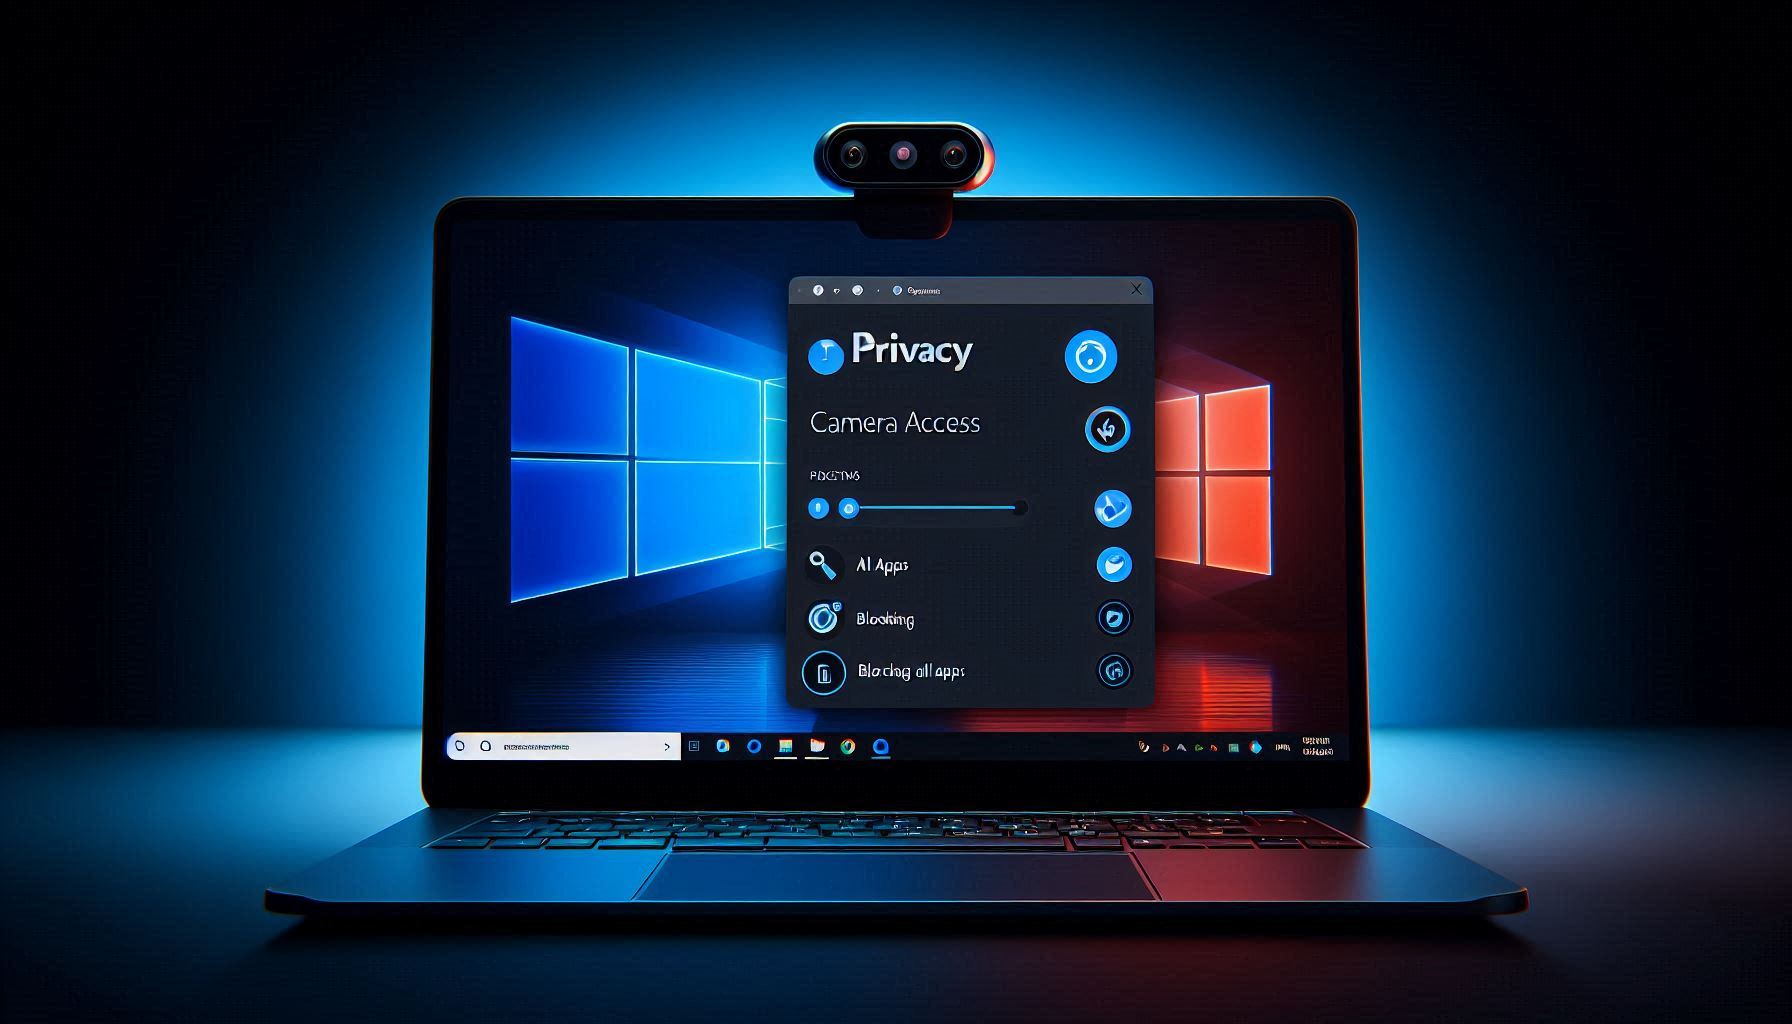
Windows 11 has a layered privacy system for the camera that operates on three levels:
Level 1: System-wide camera access. A master toggle that enables or disables the camera for the entire computer. When this is Off, nothing — not a single application, not even Windows Hello face recognition — can access the camera.
Level 2: App category access. Separate toggles for “Let apps access your camera” (Microsoft Store apps) and “Let desktop apps access your camera” (traditional desktop applications). These operate independently.
Level 3: Per-app permissions. Individual toggles for each application that has ever requested camera access.
A failure at any level silently blocks the camera. And here is the part that catches people: Windows updates and privacy tools regularly reset these toggles to Off without telling you. You could have your camera working perfectly for months, install a Windows update overnight, and wake up to a dead camera because the update reset the privacy toggles.
Step 1: Fix the Privacy Settings (This Fixes 60% of Camera Problems)
Go to Settings → Privacy & security → Camera.
Check these toggles in order:
- Camera access (the master toggle at the top) — must be On
- Let apps access your camera — must be On
- Scroll through the app list — verify that your specific app (Zoom, Teams, Chrome, Discord, etc.) shows On
- Scroll to the bottom — “Let desktop apps access your camera” — must be On
That last toggle is the one that gets people. “Let desktop apps access your camera” controls all traditional .exe applications — including Zoom, Teams (desktop version), Discord, OBS, Skype, and Chrome. If this toggle is Off, every single one of these applications is blocked from the camera. And it is at the bottom of the page where many people never scroll.
Why this toggle turns itself off:
- Windows updates that include privacy-related changes can reset it
- Privacy-focused tools like O&O ShutUp10, W10Privacy, or even Windows Security’s own privacy recommendations
- Enterprise Group Policies on work laptops that IT administrators configure
- A well-intentioned family member who was “securing” the computer
After turning all toggles On, test your camera immediately. If it works, you are done. If it still does not work, continue to Step 2.
Step 2: The Physical Privacy Shutter (The Embarrassingly Simple Check)
Before diving into drivers and advanced troubleshooting, check whether your camera is physically covered.
Many modern laptops — particularly from Lenovo, HP, Dell, and ASUS — have built-in privacy shutters: small sliding covers that physically block the camera lens. The shutter is usually a tiny slider located directly on the display bezel next to the webcam. Slide it to reveal the lens.
Lenovo ThinkPad laptops have a prominent red and black shutter called “ThinkShutter.” HP EliteBooks and ProBooks have a sliding privacy switch above the webcam. Dell Latitude models have a similar mechanical shutter.
Additionally, many laptops have keyboard shortcuts that disable the camera at the firmware level:
- Lenovo: typically F8 or Fn+F8 (look for a camera icon with a line through it on the F8 key)
- HP: dedicated camera kill key (varies by model)
- Dell: Fn+F9 on many Latitude and Inspiron models
- ASUS: Fn+F10 on some models
When the camera is disabled via a hardware switch or keyboard shortcut, the camera indicator light stays off and no software can activate it — not even Device Manager will show the camera in some cases. Press the key again to re-enable.
Step 3: The Driver Fix
If privacy settings are correct and no physical shutter is blocking the lens, the camera driver needs attention.
Check Device Manager:
- Right-click Start → Device Manager
- Look for Cameras or Imaging devices in the device list
- Your webcam should be listed — “Integrated Webcam,” “HP TrueVision HD,” “Chicony USB Camera,” or similar
If the camera is not listed at all: the hardware is not being detected. This means either the camera is hardware-disabled (check the keyboard shortcut), the driver is completely missing, or there is a hardware connection problem.
Try: click Action → Scan for hardware changes in Device Manager. If the camera appears after scanning, the driver just needed to be reloaded.
If the camera shows with a yellow warning triangle: the driver is installed but malfunctioning. Right-click → Uninstall device → check “Delete the driver software” → restart. Windows will reinstall a fresh driver on restart.
If the camera is listed but not working: right-click → Update driver → Search automatically. If no update is found, visit your laptop manufacturer’s support page and download the camera driver for your exact model.
The driver version matters. Windows sometimes installs a generic “USB Video Device” driver that provides basic functionality. Your laptop manufacturer’s driver may include additional features like auto-exposure, noise reduction, and hardware-specific optimizations that the generic driver lacks. Some webcams (particularly infrared cameras used for Windows Hello) require the manufacturer driver to function at all.
Step 4: The One-App-At-A-Time Rule
Webcams on most laptops can only be used by one application at a time. This is a hardware-level limitation — the camera sensor sends its video stream to one consumer.
If you had a Zoom meeting earlier and Zoom is still running in the system tray (click the up arrow in the bottom-right corner to check), it may still be holding the camera. When you open Teams for your next meeting, Teams cannot access the camera because Zoom has not released it.
Fix: close the previous application completely. Not just close the window — check the system tray for background instances and right-click → Exit/Quit. Then open the new application and try the camera.
Common offenders that hold the camera in the background:
- Zoom (runs in the system tray after closing the meeting window)
- Teams (runs as a background process)
- Discord (stays running by default)
- OBS Studio (if a camera source was added)
- Windows Camera app
- Skype (if still installed)
If you are not sure which app is holding the camera, restart the computer to release all camera claims, then open only the app you need.
Step 5: Use the Camera App as a Diagnostic Tool
The built-in Windows Camera app (search for “Camera” in Start) is the best diagnostic tool because it uses the most direct path to the camera hardware, bypassing most third-party software layers:
-
If Camera app works but your video app doesn’t: the camera hardware and driver are fine. The problem is in the video app’s settings. Check the app’s camera device dropdown and select the correct webcam. Also verify app-specific camera permissions.
-
If Camera app shows a black screen: the problem is at the system level — driver, privacy settings, or hardware.
-
If Camera app shows “We can’t find your camera” (error 0xA00F4244): the camera device is not registered with Windows. Check Device Manager, check the hardware kill switch, and try reinstalling the driver.
Specific App Fixes
Zoom: Settings → Video → Camera dropdown → select the correct webcam. If it shows “No camera detected,” close Zoom completely, fix the system-level issue first, then reopen Zoom.
Microsoft Teams: Settings → Devices → Camera dropdown. If the dropdown is empty, Teams cannot see any camera devices. Fix privacy settings and drivers first. Also note that the new Teams app and classic Teams have separate camera configurations — make sure you are configuring the version you are actually using.
Google Meet (Chrome): click the camera icon in the Chrome address bar to check Chrome’s camera permission for the Meet website. Also check chrome://settings/content/camera to verify the correct camera is selected and that Meet’s domain is not blocked.
Discord: Settings → Voice & Video → Camera dropdown. Discord can sometimes default to a camera that is no longer connected. Select the correct current camera.
The Windows Hello Connection
If your laptop uses Windows Hello face recognition for login, there are actually two cameras: the regular RGB webcam and an infrared (IR) camera for face detection. These are separate devices with separate drivers.
A broken RGB camera driver does not affect Windows Hello (which uses the IR camera), and vice versa. If Windows Hello face login works but your webcam is black in video calls, only the RGB camera driver needs fixing.
In Device Manager, you may see both devices listed under Cameras:
- “Integrated Webcam” or similar — the RGB camera for video calls
- “IR Camera” or “Infrared Camera” — the Windows Hello camera
Make sure the correct one is selected in your video calling app. Selecting the IR camera as your video source will produce a dark, gray-scale, ghostly image — technically working but not useful for video calls.
Camera problems on Windows 11 are almost never hardware failures. The camera physically works — it is the software chain from privacy settings through drivers to application configuration that breaks. Check the three-layer privacy settings first because they are the cause in the majority of cases. Then verify the physical shutter, then the driver, then the application configuration. Five minutes of systematic checking beats an hour of random troubleshooting.