
How to Fix WiFi Network Not Showing in Available Networks List on Windows 11
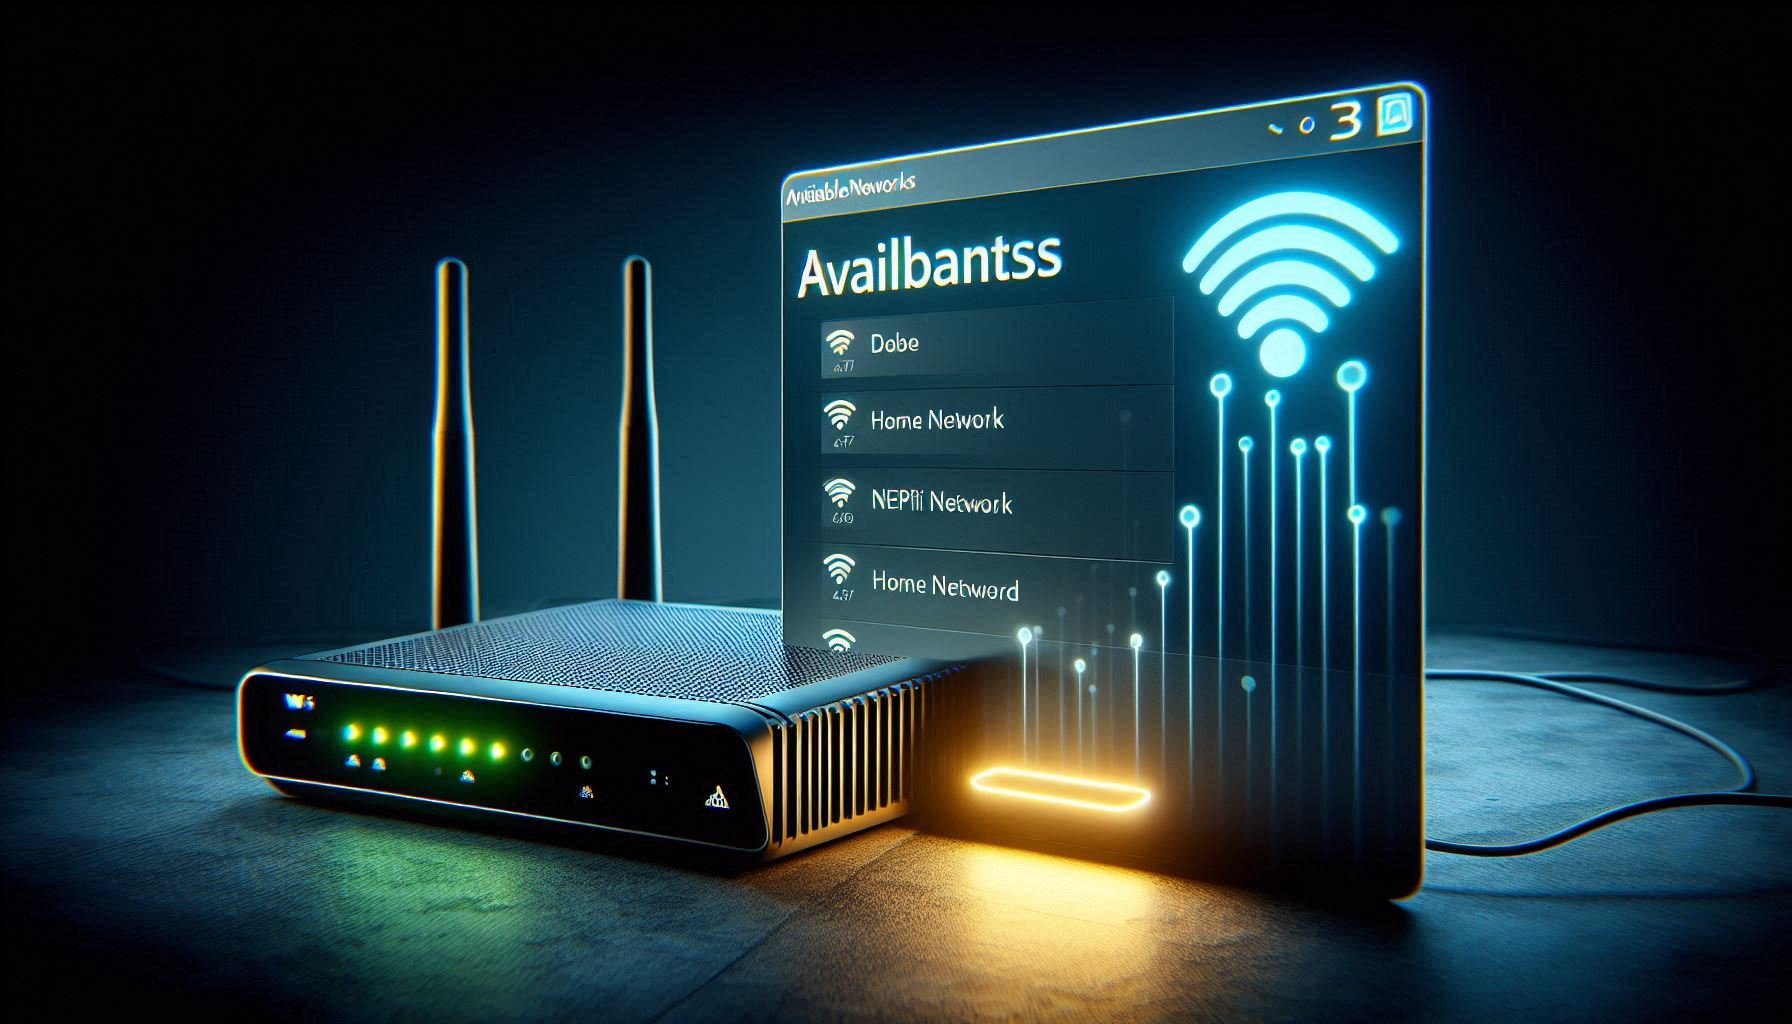
You click the WiFi icon in the taskbar. The available networks panel opens and shows a list of nearby WiFi networks — your neighbor’s network, the coffee shop across the street, a couple of networks with random names. But your own WiFi network, the one you connect to every day, is not in the list.
Your phone sees it. Your tablet sees it. The smart TV downstairs is connected to it right now. Every other device in your home finds the network without any issue. Your Windows 11 laptop is the only device that acts like the network does not exist.
You are standing three feet from the router. The WiFi signal could not possibly be stronger. And yet, your network is invisible to your laptop.
This is a different problem from “WiFi connected but no internet” or “WiFi keeps disconnecting.” Those issues occur after you connect. This problem is earlier in the chain — the network never appears in the list in the first place, so you cannot even attempt to connect.
Why a WiFi Network Disappears From the List
The WiFi available networks list is built by the WiFi adapter scanning the radio spectrum for network beacon signals. Every WiFi router broadcasts a beacon every 100 milliseconds announcing its network name (SSID), security type, and other parameters. Your laptop’s WiFi adapter listens for these beacons and builds the list of visible networks.
When a network does not appear, one of these things is happening:
Band mismatch. Your router might be broadcasting only on the 5GHz band, but your WiFi adapter is configured to scan only 2.4GHz — or vice versa. The adapter listens on the wrong frequency and never hears the beacon.
Hidden SSID. Your router is configured to not broadcast its network name. The router still operates normally, but it does not include its SSID in the beacon frames. All connected devices continue to work (they already know the SSID), but new devices cannot see the network in their scan results.
Channel incompatibility. On the 5GHz band, some channels are designated as DFS (Dynamic Frequency Selection) channels. These channels overlap with radar frequencies and require special handling. Older WiFi adapter drivers do not scan DFS channels, so if your router is on a DFS channel, older adapters will not find it.
Driver crash. The WiFi adapter driver may have crashed or entered a bad state where it stops scanning for new networks. The adapter appears functional (it is listed in Device Manager, the WiFi toggle works), but it is not actually transmitting scan requests.
Adapter disabled. Airplane mode, a physical WiFi switch, or a power management setting may have disabled the WiFi radio without any visible notification.
Step 1: Power-Cycle the WiFi Adapter
The fastest way to clear a stuck adapter state:
- Click the WiFi icon in the taskbar → toggle WiFi Off
- Wait 10 full seconds (not 2 seconds — give the adapter time to fully power down)
- Toggle WiFi On
- Wait for the network scan to complete (5-10 seconds)
- Check the list for your network
If the simple toggle does not work, do a deeper reset:
- Settings → Network & internet → Advanced network settings
- Under Network adapters, find your WiFi adapter
- Click Disable
- Wait 10 seconds
- Click Enable
This performs a full driver-level disable and re-enable, which is more thorough than the toggle. The adapter restarts its firmware, reinitializes its radio, and performs a complete channel scan from scratch.
Step 2: The 5GHz Band Problem
This is the most common cause of a specific network being invisible while other networks are visible.
Modern routers broadcast on two frequency bands:
- 2.4GHz: longer range, slower speeds, more congested (many devices and neighboring networks use this band)
- 5GHz: shorter range, faster speeds, less congested
Some routers broadcast a single network name that works on both bands. Others broadcast two separate network names — “HomeNetwork” on 2.4GHz and “HomeNetwork-5G” on 5GHz.
If your router only broadcasts on 5GHz (either by configuration or because you disabled 2.4GHz), and your WiFi adapter is set to scan only 2.4GHz, your network is invisible.
Check your adapter’s band setting:
- Open Device Manager → expand Network adapters
- Double-click your WiFi adapter (e.g., “Intel Wi-Fi 6 AX201 160MHz”)
- Click the Advanced tab
- Look for properties like:
- Preferred Band: set to No Preference or Auto (not “2.4 GHz Only” or “5 GHz Only”)
- Wireless Mode: ensure it supports both 802.11a/n/ac (5GHz) and 802.11b/g/n (2.4GHz)
If the adapter was set to one band only, changing it to Auto or Dual Band immediately allows it to scan both bands and your network should appear.
If your adapter does not support 5GHz: some older or budget WiFi adapters only support 2.4GHz. Check the adapter name — if it says “802.11n” without “ac” or “ax,” it is 2.4GHz only. In this case, you need to enable 2.4GHz on your router.
Log into your router admin panel (usually 192.168.1.1 or 192.168.0.1) and verify that the 2.4GHz radio is enabled and broadcasting.
Step 3: Connecting to a Hidden Network
If your router’s SSID broadcast is disabled (hidden network), no device will see it in the scan results unless it has previously connected to it. You need to connect manually:
- Settings → Network & internet → WiFi
- Click “Manage known networks”
- Click “Add network”
- Enter the exact network name (case-sensitive)
- Select the correct security type:
- WPA2-Personal (most common)
- WPA3-Personal (newer routers)
- WPA2/WPA3-Personal (some routers offer both)
- Enter the password
- Check “Connect automatically”
- Click Save
Windows connects to the hidden network and remembers it for future sessions. If the name or security type is wrong, the connection will fail silently — double-check with your router’s admin panel or the person who set up the network.
Should you hide your SSID? Hiding the SSID does not meaningfully improve security — network scanning tools can still detect hidden networks by analyzing data frames. It does, however, make connecting new devices significantly more difficult. Unless you have a specific reason to hide it, enabling SSID broadcast is recommended.
Step 4: The Driver Reinstall
If your network is not hidden, band settings are correct, and the adapter is not stuck, the driver may be corrupted:
- Open Device Manager → expand Network adapters
- Right-click your WiFi adapter → Uninstall device
- Check “Delete the driver software for this device”
- Click Uninstall
- Restart the computer
On restart, Windows detects the WiFi hardware and installs a fresh driver. The adapter performs a full initialization and channel scan. Check the network list immediately after restart.
If the generic driver finds your network but you want better performance, download the specific WiFi driver from your laptop manufacturer:
For Intel WiFi adapters specifically, the Intel Driver & Support Assistant automatically detects your adapter model and installs the latest driver.
Step 5: The Network Stack Reset
If the adapter and driver seem fine but the network list is still wrong (missing networks, stale networks that no longer exist, or an empty list), the Windows networking stack has residual corruption:
Open Command Prompt as Administrator and run:
netsh winsock reset
netsh int ip reset
ipconfig /flushdns
ipconfig /release
ipconfig /renew
Restart the computer after all commands complete.
These commands reset the Winsock catalog (the socket layer between applications and the network stack), the TCP/IP stack, and the DNS resolver cache. Any state corruption that was preventing proper network discovery is cleared.
The Router Side: Check Your Own Settings
Sometimes the problem is not your laptop — it is your router. Check these settings by logging into the router admin panel:
SSID Broadcast: make sure it is Enabled (unless you intentionally want a hidden network).
Channel: if the router is on a DFS channel (channels 52-144 on 5GHz), switch it to a non-DFS channel (channels 36-48) for maximum compatibility with all client devices.
Band steering: some routers aggressively steer devices to 5GHz by refusing to respond to 2.4GHz probe requests from devices it thinks should use 5GHz. If your laptop is being steered away from 2.4GHz but cannot connect to 5GHz either, disable band steering temporarily to test.
MAC filtering: if your router has MAC address filtering enabled, your laptop’s WiFi MAC address must be in the allow list. Check your laptop’s WiFi MAC address: Settings → Network & internet → WiFi → Hardware properties → Physical address.
A WiFi network not showing in the available list feels like a hardware failure but it is almost always a configuration issue — band settings, hidden SSID, driver state, or router configuration. The network exists, the router is broadcasting, and every other device can see it. Your laptop just needs its WiFi adapter pointed at the right frequency with a working driver.