
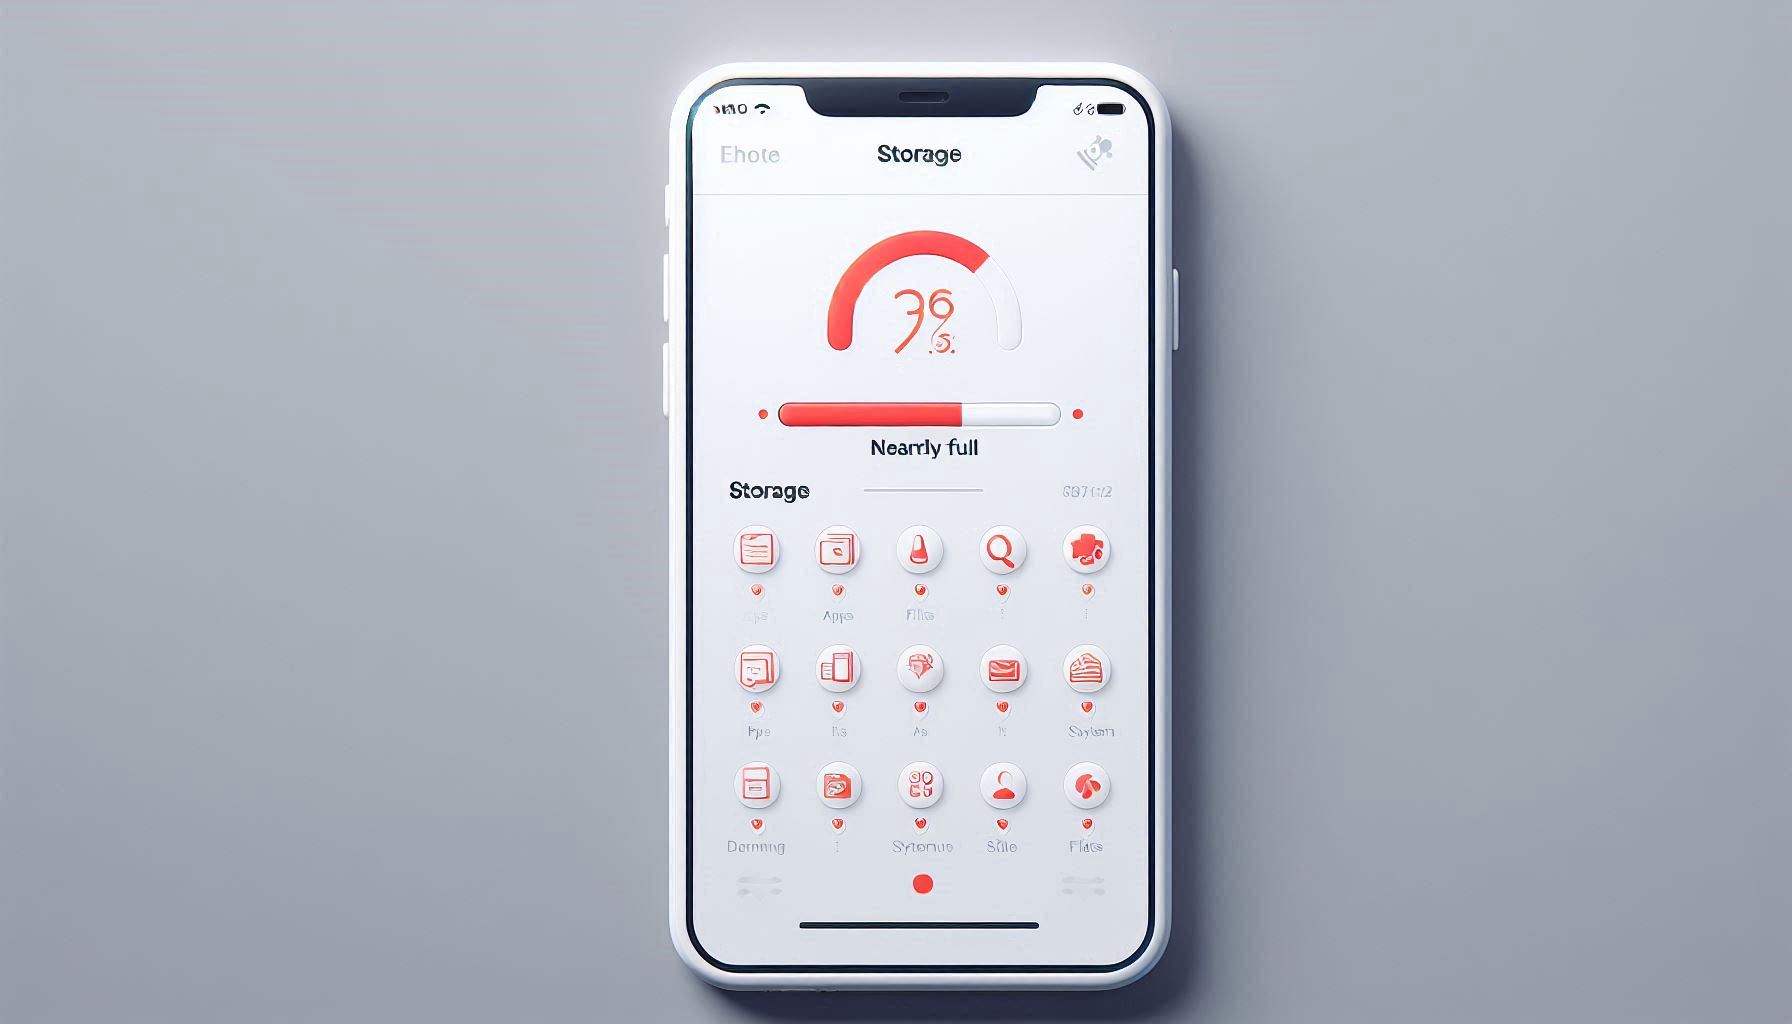
Your iPhone is full. Not “almost full” — full. The storage bar is solid red. Apps are crashing. The camera refuses to take photos. You can’t install the latest iOS update because there’s “not enough room.”
So you start deleting. You remove apps you haven’t used in months. You go through your camera roll and delete hundreds of photos. You clear out old messages and remove downloaded music. You check the storage meter again.
It barely moved.
Welcome to one of the most frustrating iPhone experiences: the storage that refuses to free up. You’ve deleted gigabytes of visible files, but the phone still says it’s full. The culprit is almost always something you can’t see in your app list — it’s called System Data, and on many iPhones, especially after iOS updates, it can silently consume 20, 30, even 50 GB of storage.
Let me show you where the space is actually going and how to get it back.
Step 1: Find the Real Problem
Settings → General → iPhone Storage
Wait for the breakdown to fully load — on a full phone, this can take a minute or longer. Don’t skip ahead until the colored bar and the list of apps have finished calculating.
Look at the bottom of the list. Below all your apps, you’ll see an entry called System Data (on older iOS versions, it was called “Other”). Tap it to see its size.
If System Data is under 10 GB, that’s normal. If it’s 15-20 GB, it’s on the high side but manageable. If it’s 30 GB or more, something is wrong — and that’s where all your space went.
The colored bar at the top also shows you the breakdown visually. The gray section at the end is System Data. On an iPhone with the storage bug, that gray section dominates the entire bar.
Step 2: Quick Wins — Clear Caches and Temporary Data
Before we go nuclear, try these steps that can reclaim 2-10 GB quickly:
Clear Safari data:
Settings → Safari → Clear History and Website Data
Safari caches web pages, cookies, and browsing data that can accumulate to several gigabytes over months.
Clear messaging app data:
Settings → General → iPhone Storage → tap Messages
If you’ve been sending and receiving lots of photos and videos through iMessage, the attachment data adds up fast. Under Messages, you can review and delete large attachments, photos, GIFs, and stickers. People who’ve been using iMessage for years often find 5-10 GB of cached message data here.
Delete and reinstall cache-heavy apps:
These apps are notorious for accumulating massive caches:
- TikTok — can cache 2-5 GB of viewed videos
- Instagram — stores cached stories and browsing data
- Spotify — offline music plus streaming cache
- YouTube — video cache for watched content
- Facebook/Messenger — cached content and attachments
For each one: delete the app, then reinstall it from the App Store. Your account data lives in the cloud — when you sign back in, everything returns except the cached junk.
To see which apps have the largest caches, look at the “Documents & Data” size for each app in iPhone Storage settings. An app that’s 200 MB itself but shows 3 GB of Documents & Data is storing a lot of cached content.
Offload unused apps:
Settings → General → iPhone Storage → Enable Offload Unused Apps
This automatically removes apps you haven’t used recently while keeping their data. When you tap the app again, it re-downloads. The data is preserved, but the app binary (which can be hundreds of MB to several GB for games) is removed.
Step 3: Deal with Photos and Videos (The Smart Way)
Photos and videos are usually the largest category on most iPhones. But deleting them manually is tedious and you risk losing memories.
Enable iCloud Photos with Optimize Storage:
Settings → Photos → iCloud Photos → ON

Settings → Photos → Optimize iPhone Storage → ON
With these enabled, your full-resolution photos and videos are stored in iCloud, and your iPhone keeps only smaller, space-saving thumbnails locally. When you open a photo, the full version downloads on demand.
This can reclaim massive amounts of space if you have a large photo library. A 50 GB photo library might only take up 5-10 GB locally with optimization enabled.
You’ll need enough iCloud storage for your photos. The free 5 GB plan is probably not enough. The 50 GB plan ($0.99/month) or 200 GB plan ($2.99/month) is worth it.
Empty the Recently Deleted folder:
After deleting photos, they sit in the Recently Deleted album for 30 days before actually being removed. During that time, they still use storage.
Photos → Albums → scroll down → Recently Deleted → Select → Delete All
This immediately frees the space those deleted photos were occupying.
Find and remove duplicate photos:
Photos → Albums → Utilities → Duplicates
iOS can identify duplicate photos and let you merge them, keeping only the best version. If you’ve been transferring photos between devices or saving the same images multiple times, this can free significant space.
Step 4: The System Data Nuclear Option
If System Data is eating 20+ GB and nothing above helped, there’s only one reliable fix: back up, erase, and restore.
This sounds scary, but it’s safe if you follow the steps:
Step 1: Back up your iPhone.
Option A — iCloud backup:
Settings → [your name] → iCloud → iCloud Backup → Back Up Now
Option B — Computer backup (more reliable for large phones):
Connect to a Mac (Finder) or Windows PC (Apple Devices app or iTunes). Click “Back Up Now.” If asked, choose to encrypt the backup — this preserves your Health data and saved passwords.
Step 2: Verify the backup exists.
For iCloud: Settings → [your name] → iCloud → iCloud Backup. You should see “Last successful backup” with today’s date and time.
For computer: Open Finder (Mac) → click your iPhone → see the latest backup date.
Step 3: Erase the iPhone.
Settings → General → Transfer or Reset iPhone → Erase All Content and Settings
The phone will restart and show the initial setup screen. This is normal.
Step 4: Restore from backup.
Follow the setup steps. When asked, choose “Restore from iCloud Backup” or “Restore from Mac/PC.” Select the backup you just made.
The restore process takes 20-60 minutes depending on your backup size and internet speed. After it finishes, all your apps, photos, messages, settings, and data will be back.
Step 5: Check your storage.
Settings → General → iPhone Storage
System Data should now be dramatically smaller — typically under 10 GB instead of the 30-50 GB it was before. Users who had 5 GB free before the restore routinely report having 30-40 GB free afterward, without losing any personal data.
Step 5: Update iOS Without Free Space
If the whole reason you’re dealing with storage is that you can’t install an iOS update, there’s a workaround that bypasses the space requirement:
Update through a computer:
- Connect your iPhone to a Mac or Windows PC with a USB cable
- Mac: Open Finder → click your iPhone in the sidebar
- Windows: Open Apple Devices app (or iTunes)
- Click “Check for Update”
- Click “Download and Update”
The update file downloads to your computer, not your iPhone. This means your phone doesn’t need the 5-15 GB of free space normally required for the download. It only needs enough space for the installation itself, which is much less.
This works even when your iPhone says “Not enough storage to update.” It’s the single most reliable way to update a phone that’s completely full.
Prevent the Storage Problem from Coming Back
After cleaning up, set these habits to avoid another storage crisis:
Keep iCloud Photos + Optimize Storage enabled. Photos sync to the cloud automatically. Your iPhone keeps thumbnails, not full files.
Review storage monthly. Settings → General → iPhone Storage. Takes 30 seconds. If System Data starts growing again, clear Safari cache and restart the phone.
Restart your iPhone weekly. A regular restart clears temporary files and cached data that iOS accumulates. It’s the simplest maintenance habit with the biggest impact.
Delete message attachments periodically. Settings → General → iPhone Storage → Messages → Review Large Attachments. Delete old photos and videos sent through iMessage.
Keep at least 5 GB free at all times. When the storage drops below 5 GB, iOS starts behaving unpredictably — apps crash, camera fails, and the System Data issue tends to get worse.
Your iPhone storage crisis is fixable. The “System Data” problem affects millions of users, and while Apple has been slow to fully resolve it, the backup-and-restore method reliably reclaims the wasted space. And when all else fails, updating through a computer bypasses the storage limitation entirely.