
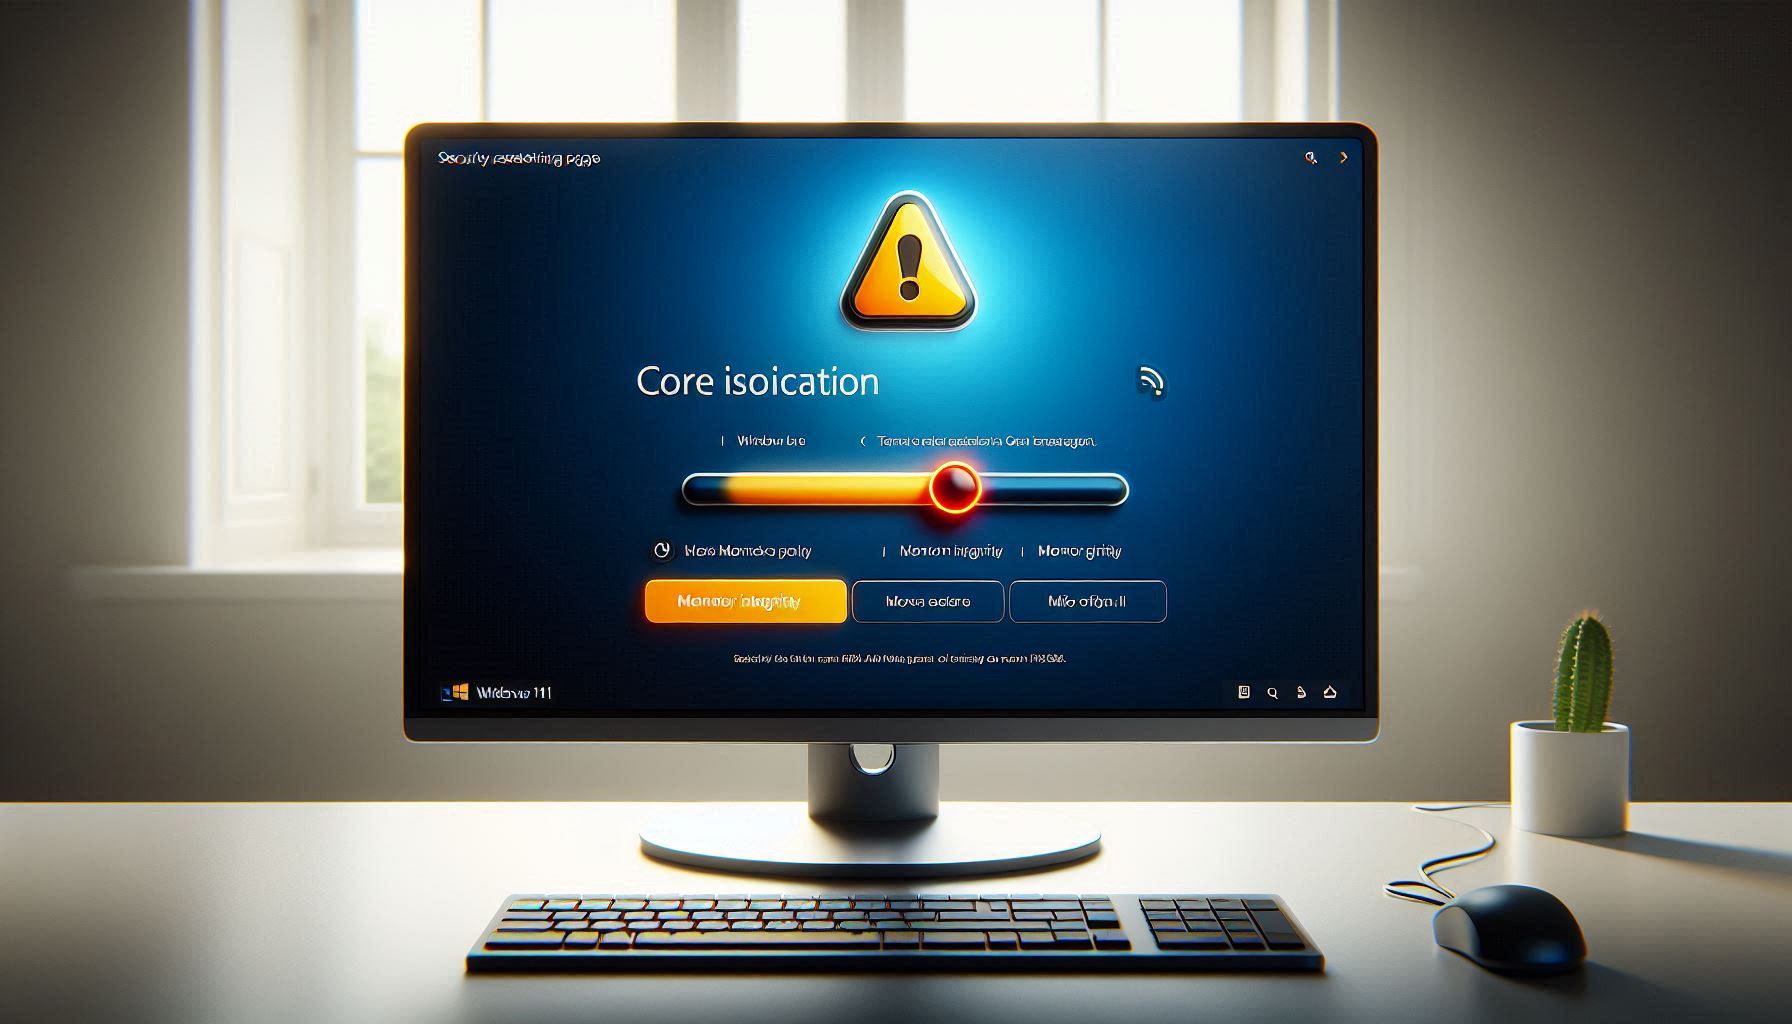
You open Windows Security → Device Security → Core Isolation and see a warning: Memory Integrity is off. You try to turn it on. The toggle either does nothing, flashes briefly and turns itself back off, or tells you to “Resolve incompatible drivers” — but when you click through, the list is completely blank. No drivers shown. No explanation. Just an empty page.
This issue affects millions of Windows 11 PCs and has been reported across Dell, HP, Lenovo, and custom-built machines. The problem is that Windows can detect a driver conflict exists, but fails to display which driver is causing it.
This guide covers the real fixes that work — including the cases where no incompatible drivers are listed.
What Is Memory Integrity and Why Does It Matter?
Memory Integrity (officially called Hypervisor-Protected Code Integrity or HVCI) is a Windows security feature that uses hardware virtualization to protect critical system processes. It creates an isolated environment that checks the integrity of kernel-mode drivers before allowing them to run.
In simple terms: it prevents malware from injecting malicious code into Windows core processes. Microsoft enables it by default on new Windows 11 devices because it’s one of the strongest protections against kernel-level attacks.
When Memory Integrity can’t be turned on, your system is missing a significant layer of security.
Why Won’t Memory Integrity Turn On?
There are four main causes:
- Incompatible or unsigned drivers — Old drivers that don’t meet HVCI requirements. Windows blocks Memory Integrity to avoid crashes from these drivers
- Ghost drivers in the driver store — Drivers from previously uninstalled hardware that still exist in Windows but don’t show up in the incompatible drivers list
- BIOS virtualization disabled — Intel VT-x or AMD-V must be enabled in BIOS for HVCI to work
- Secure Boot disabled — Memory Integrity requires Secure Boot to be active
Method 1: Find the Hidden Drivers Using Autoruns (Best Method)
When Windows shows a blank incompatible drivers page, the built-in tools have failed. Autoruns from Microsoft Sysinternals can find what Windows can’t.
Step 1: Download Autoruns from Microsoft (official, free tool from Microsoft).
Step 2: Extract the zip file and run Autoruns64.exe as Administrator.
Step 3: Click on the “Drivers” tab at the top.
Step 4: Look for any driver entries highlighted in yellow (unsigned) or red (file not found / problematic). These are your likely culprits.
Common problematic drivers you might see:
- ftdibus.sys — FTDI USB serial converter driver
- pxhlpa64.sys — Sonic/Roxio CD/DVD driver (installed by Dell, HP)
- brusbisib.sys — Brother printer USB driver
- STTub30.sys — ST Microelectronics USB driver
- Wdcsam64.sys — Western Digital storage driver
Step 5: Untick the checkbox next to the problematic driver to disable it. If you’re certain the driver is not needed (e.g., for hardware you no longer have), right-click and select Delete.
Step 6: Restart your PC and try enabling Memory Integrity again.
Method 2: Remove Ghost Drivers Using pnputil
If Autoruns doesn’t reveal the issue, use pnputil to list all third-party drivers and remove the problematic ones.
Step 1: Open Command Prompt as Administrator.
Step 2: List all third-party drivers:
pnputil /enum-drivers
Step 3: This outputs a long list. Look for drivers with old dates, unfamiliar publishers, or class names like “SCSIAdapter”, “USB”, “Media” that don’t match your current hardware.
Step 4: Once you identify the problematic driver (e.g., oem27.inf), remove it:
pnputil /delete-driver oem27.inf /uninstall /force
Step 5: Restart and try enabling Memory Integrity.
Important: Write down the exact driver name before deleting. If you remove the wrong driver, you might lose functionality for active hardware. You can always reinstall drivers from the manufacturer’s website.
Method 3: Enable Memory Integrity via Registry (When Toggle Is Greyed Out)
If the toggle is completely greyed out and unresponsive, you can force-enable Memory Integrity through the registry.
Step 1: Press Win + R, type regedit, press Enter.
Step 2: Navigate to:
HKEY_LOCAL_MACHINE\SYSTEM\CurrentControlSet\Control\DeviceGuard\Scenarios\HypervisorEnforcedCodeIntegrity
Step 3: If the HypervisorEnforcedCodeIntegrity key doesn’t exist, create it:
- Right-click on
Scenarios→ New → Key → name itHypervisorEnforcedCodeIntegrity
Step 4: Inside that key, create a new DWORD (32-bit) value named Enabled and set it to 1.
Step 5: Restart your PC.
Step 6: Check Device Security → Core Isolation. Memory Integrity should now show as On.
If it reverts to Off after restart: A driver is overriding the setting during boot. Go back to Method 1 and use Autoruns to find and remove the conflicting driver.
Method 4: Enable Virtualization and Secure Boot in BIOS
Memory Integrity requires hardware virtualization. If it’s disabled in BIOS, HVCI simply cannot work.
Step 1: Restart your PC and enter BIOS/UEFI (usually press F2, F12, Del, or Esc during boot — depends on your manufacturer).
Step 2: Find the virtualization setting:
- Intel: Look for Intel VT-x, Intel Virtualization Technology, or VT-d
- AMD: Look for AMD-V or SVM Mode
Step 3: Set it to Enabled.
Step 4: Also check that Secure Boot is Enabled. It’s usually under the Boot or Security tab.
Step 5: Save and exit BIOS (usually F10).
Step 6: Boot into Windows and try enabling Memory Integrity.
For specific BIOS navigation instructions, check your manufacturer’s support page:
Method 5: Enable Windows Optional Features
Some systems need additional Windows features enabled for HVCI to work:
Step 1: Press Win + R, type optionalfeatures, press Enter.
Step 2: Check both of these:
- ✅ Virtual Machine Platform
- ✅ Windows Hypervisor Platform
Step 3: Click OK and restart when prompted.
Step 4: After restart, try enabling Memory Integrity.
Method 6: Windows Update (Sometimes the Simplest Fix)
Some users reported that updating from Windows 11 23H2 to 24H2 resolved the Memory Integrity issue automatically. Microsoft fixed several HVCI-related bugs in recent builds.
Step 1: Go to Settings → Windows Update → Check for updates.
Step 2: Install all available updates, including optional ones.
Step 3: Restart and check Memory Integrity again.
Should You Even Enable Memory Integrity?
This depends on your use case:
| Scenario | Recommendation |
|---|---|
| General desktop use (browsing, office, email) | Enable — the security benefit is significant |
| Gaming PC where every FPS matters | Optional — may reduce performance by 5-10% |
| Work/business laptop with sensitive data | Definitely enable — HVCI prevents kernel attacks |
| Old PC with legacy hardware/drivers | May not be possible — old drivers often incompatible |
| Virtual machine host (Hyper-V, VMware) | Enable — works alongside other virtualization features |
Frequently Asked Questions
Why does the incompatible drivers page show blank / empty?
This is a known bug in Windows 11 where the GUI fails to enumerate certain drivers in the driver store. The drivers exist and conflict with HVCI, but Windows Security cannot display them. Using Autoruns (Method 1) or pnputil (Method 2) reveals these hidden drivers.
Does enabling Memory Integrity slow down my PC?
Memory Integrity uses CPU virtualization to create an isolated security environment. On modern CPUs (2018+), the performance impact is minimal (1-3%). On older CPUs or in gaming workloads, you may notice a 5-10% reduction in performance. Microsoft’s own documentation acknowledges a possible small performance impact.
Is the registry method safe?
Yes, setting the Enabled DWORD to 1 is the same thing the Windows Security toggle does internally. You’re just doing it manually. Setting it to 0 reverses the change. Always back up the registry before making changes.
I deleted a driver and now my hardware doesn’t work. How do I fix it?
Restart your PC. Windows will attempt to reinstall the driver automatically via Windows Update. If it doesn’t, go to the hardware manufacturer’s website and download the latest driver for your device. Install it manually through Device Manager.
Memory Integrity is on but Windows Security still shows a warning. Why?
After enabling Memory Integrity, Windows may need one or two restarts to fully verify the setting. If the warning persists after multiple restarts, run msinfo32 and check the line “Virtualization-based security” — it should say “Running.”
Conclusion
The Memory Integrity issue in Windows 11 almost always comes down to ghost drivers that don’t appear in the incompatible drivers list. Use Autoruns to find them, pnputil to remove them, and make sure BIOS virtualization and Secure Boot are both enabled. If the toggle is greyed out, the registry edit forces it on. After fixing, your system gains one of Windows’ strongest security protections against kernel-level attacks.
Last updated: February 2025 | Tested on Windows 11 23H2, 24H2 — Dell, HP, Lenovo, and custom PCs