
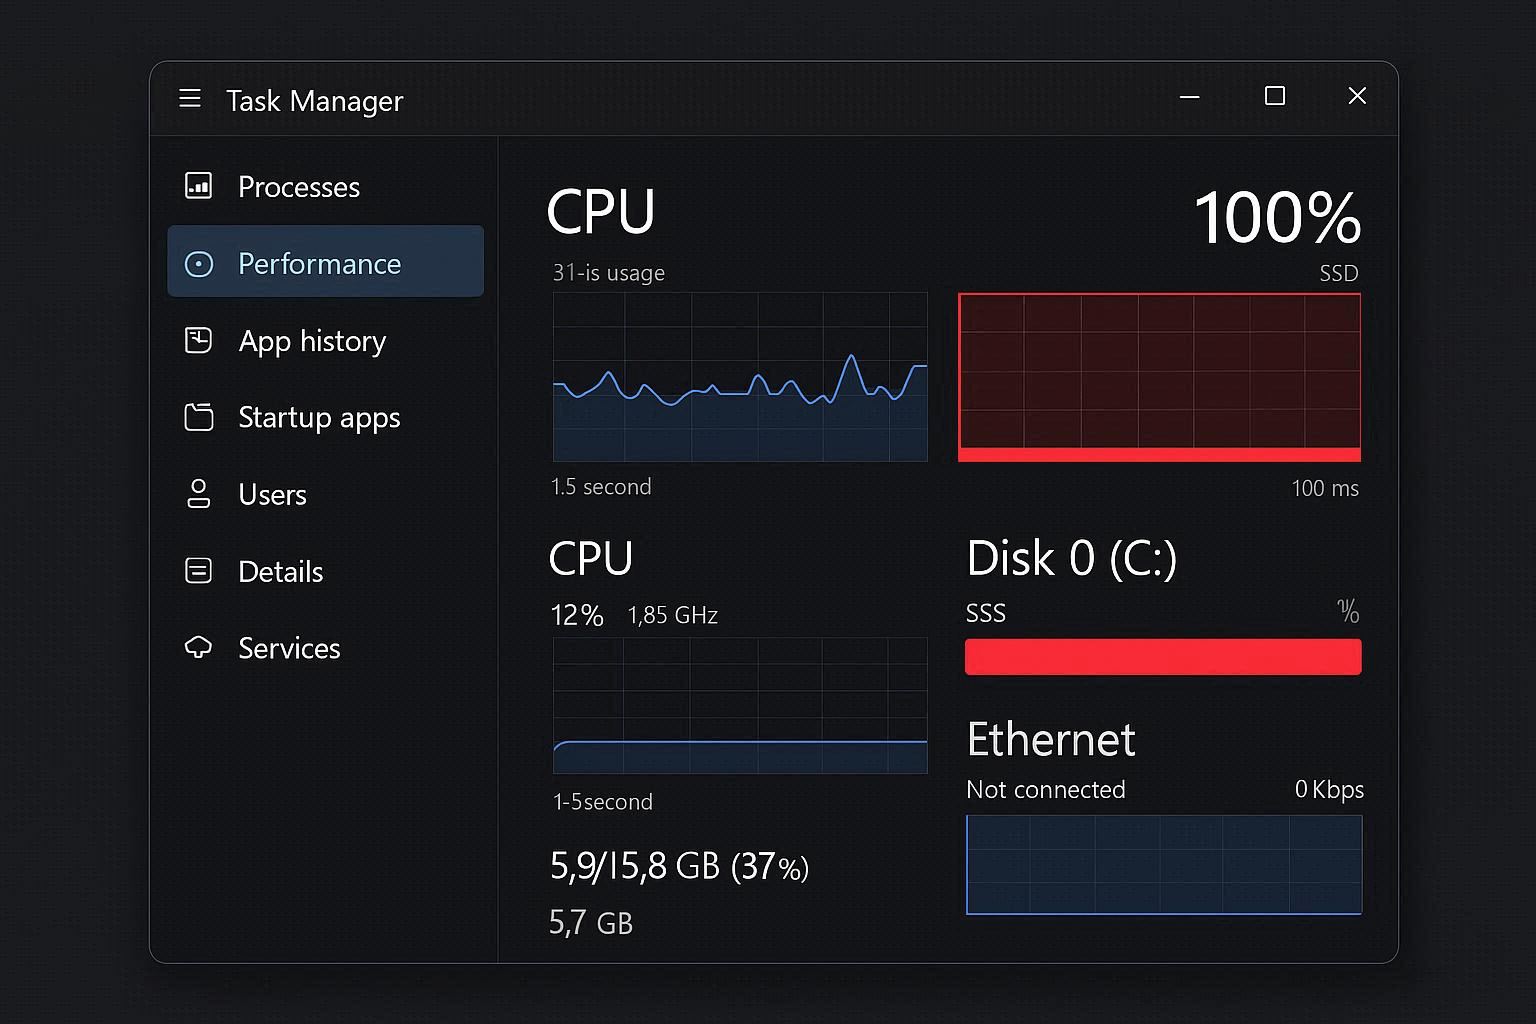
Open Task Manager. Click the Disk column. Watch it sit at 100%.
Your PC grinds to a halt. Programs take forever to open. The cursor stutters. Windows itself feels like it’s running through mud. You look at Task Manager expecting to find one rogue process eating all the disk — but nothing stands out. The total from all processes doesn’t add up to 100%.
Congratulations, you’ve hit the most misleading performance metric in Windows.
Here’s what most guides won’t tell you: Task Manager’s disk percentage doesn’t mean what you think it means. And the most popular fix on the internet — disabling SysMain — might actually make your system slower if you have an SSD.
Let me explain what’s really going on.
Why Task Manager’s 100% Disk Number Is Misleading
Task Manager shows what percentage of your disk’s maximum throughput is currently in use. The problem is that traditional hard drives (HDDs) have extremely low throughput — around 100 to 200 IOPS (Input/Output Operations Per Second).
So when Windows Search indexes a few files, and Defender scans something in the background, and a Windows Update downloads — each one doing just a tiny bit of disk activity — your HDD maxes out. Not because the load is heavy, but because the drive is slow.
An SSD handles 50,000 or more IOPS. The same workload that pushes an HDD to 100% barely puts a dent in an SSD.
This is why “100% disk usage” primarily affects systems with hard drives. If you have an SSD and you’re still seeing 100%, something is genuinely wrong — and that makes it easier to diagnose.
Step 1: Use Resource Monitor Instead of Task Manager
Task Manager gives you a percentage and a vague list of processes. Resource Monitor gives you the actual data: which specific process is reading or writing, how many bytes per second, and to which file.
Open it:
Press Windows + R → type resmon → press Enter
Click the Disk tab. Now you can see reality.
Sort by the Total (B/sec) column. The process at the top is your actual disk hog. Common culprits I see:
- System (PID 4) — Usually means a kernel-level driver is thrashing. Often StorAHCI related.
- SearchIndexer.exe — Windows Search building or rebuilding its index.
- MsMpEng.exe — Windows Defender running a scan.
- svchost.exe — Could be dozens of things. Check the “Service” column for specifics.
- TiWorker.exe — Windows Update installing or configuring updates.
Once you know the culprit, you can apply the right fix instead of randomly disabling services.
Step 2: The StorAHCI Firmware Bug (Microsoft’s Own Admission)
This one is wild. Microsoft themselves acknowledged that certain AHCI PCIe controllers running the default storahci.sys driver have a firmware incompatibility that causes 100% disk usage. It’s been a known issue since Windows 10, and it still affects Windows 11.
The bug occurs when Message Signaled Interrupts (MSI) mode is enabled for the SATA controller. On affected hardware, MSI mode causes the controller to flood the disk with redundant interrupts, spiking usage to 100%.
Check if you’re affected:
- Open Device Manager → expand IDE ATA/ATAPI controllers
- Right-click Standard SATA AHCI Controller → Properties → Driver tab
- If the driver file is
storahci.sys, you might be affected - Click the Details tab → select Device instance path from the dropdown
- Copy the path (looks like
PCI\VEN_8086&DEV_...)
Apply the fix:
- Open Registry Editor (Windows + R → type
regedit) - Navigate to:
HKEY_LOCAL_MACHINE\System\CurrentControlSet\Enum\PCI\<your device path>\Device Parameters\Interrupt Management\MessageSignaledInterruptProperties - Find MSISupported and set its value to 0
- Restart your PC
This disables MSI mode for the SATA controller. On affected systems, disk usage drops from 100% to normal immediately after restart.
Note: Not every system is affected. If you don’t see a difference after this fix, revert the registry change by setting MSISupported back to 1.
Step 3: Disable the Telemetry Services
Windows 11 runs telemetry services that constantly collect diagnostic data about your system — crash reports, usage patterns, feature telemetry — and write it to disk. On HDDs, this background writing can contribute significantly to high disk usage.
Two services in particular:
Connected User Experiences and Telemetry (DiagTrack) — This is the main diagnostic data collection service. It runs under svchost.exe, which is why you see svchost as a disk hog in Task Manager without knowing which specific service is causing it.
Connected Devices Platform Service — Manages communication with connected devices and syncs data to Microsoft’s servers.
Disable both:
Press Windows + R → type services.msc → press Enter
Find Connected User Experiences and Telemetry. Double-click it. Set Startup type to Disabled. Click Stop. Click OK.
Do the same for Connected Devices Platform Service.
These are non-essential services. Disabling them doesn’t affect Windows functionality — you just stop sending diagnostic data to Microsoft. Your system still gets updates, Defender still works, and everything else runs normally.
Step 4: The SysMain Debate — When to Disable and When to Leave It
Every “fix 100% disk usage” guide starts with “disable SysMain.” And on hard drives, they’re right. SysMain (formerly called Superfetch) preloads frequently used applications into memory. On an HDD, this constant pre-reading creates a stream of random disk access that pushes usage to 100%.
But here’s what those guides don’t mention: on SSDs, SysMain is actually helpful and doesn’t cause high disk usage.
SSDs handle random reads effortlessly. SysMain’s preloading happens almost instantly and doesn’t register as significant disk activity. Disabling SysMain on an SSD removes a useful caching feature and can make app launches marginally slower — with no disk usage benefit.
The rule:
- HDD? Disable SysMain. It’s almost certainly contributing to your 100% disk usage.
- SSD? Leave SysMain enabled. Your disk usage problem is coming from somewhere else.
If you need to disable it:
Press Windows + R → type services.msc → press Enter
Find SysMain. Double-click it. Set Startup type to Disabled. Click Stop. Click OK.
Step 5: Reset Virtual Memory and Power Settings
Two often-overlooked settings that can cause persistent high disk usage:
Virtual Memory (Paging File)
When your RAM fills up, Windows swaps data to a file on disk called pagefile.sys. If the paging file is set too small, Windows constantly swaps data back and forth — hammering your disk.
Fix it:
- Press Windows + R → type
SystemPropertiesAdvanced→ press Enter - Under Performance, click Settings → Advanced tab → Change under Virtual Memory
- Uncheck “Automatically manage paging file size”
- Select your system drive (C:)
- Choose Custom size
- Initial size: Your RAM in MB × 1.5 (example: 8 GB RAM = 12288 MB)
- Maximum size: Your RAM in MB × 3 (example: 8 GB RAM = 24576 MB)
- Click Set → OK → Restart
Power Plan
Some power plans aggressively spin down hard drives and then spin them back up when needed. This constant stop-start cycle causes disk usage spikes.
Go to Control Panel → Hardware and Sound → Power Options. Select High performance or Balanced. Then click Change plan settings → Change advanced power settings. Find Hard disk → Turn off hard disk after and set it to Never.
This only matters for HDDs. SSDs don’t spin down.
Step 6: Check Your Disk’s Health
If nothing above works, your disk might be physically failing.
Run CHKDSK to scan for bad sectors:
Open Command Prompt as administrator

chkdsk C: /f /r

Type Y and press Enter

Restart your PC
CHKDSK runs before Windows loads. It scans every sector on the drive and attempts to repair what it finds. If it reports a large number of bad sectors (more than a handful), your drive is failing. Back up your data immediately and replace the drive.
For SSDs specifically, download CrystalDiskInfo (free) and check the SMART data. Look for these values:
- Reallocated Sectors Count — Should be 0. Any other number means cells are dying.
- Current Pending Sector Count — Should be 0. Non-zero means sectors are waiting to be remapped.
- Wear Leveling Count or SSD Life Left — Shows overall SSD health as a percentage.
If your SSD shows signs of failure, no software fix will help. Replace it.
The Real Fix: Upgrade to an SSD
I saved this for last because it’s not a “fix” — it’s the fix. If your system runs a traditional hard drive and you’re experiencing 100% disk usage, the single best thing you can do is replace it with an SSD.
A 500 GB SATA SSD costs around $30 to $40. An NVMe SSD costs slightly more but is even faster. The performance difference is not incremental — it’s transformational. Boot times drop from minutes to seconds. Apps open instantly. And that 100% disk usage? Gone. Because the same workload that maxes out an HDD barely registers on an SSD.
Clone your existing drive to the new SSD using free tools like Macrium Reflect or Clonezilla, and you won’t even need to reinstall Windows.