
A GPU doesn’t give you a two-week notice before it quits. There’s no popup saying “Hey, I’m about to die — maybe save your game.” One day everything runs fine. The next day you’re staring at weird pink triangles floating across your screen while your game freezes mid-fight.
By that point, the damage is usually done.
But here’s the thing — a failing GPU almost always shows symptoms weeks or months before it completely gives up. Temperatures creep higher. Drivers crash more often. Frame rates dip in games that used to run smoothly. These are signs, and Windows 11 gives you the tools to catch them early if you know where to look.
This guide walks you through four different ways to check your GPU’s health — from quick built-in tools to full stress tests that push your card to its limits. Think of it as a physical exam for your graphics card.
If you’ve already checked your SSD health and RAM health, this completes the hardware health trilogy. After this, you’ll know exactly what shape your PC’s core components are in.
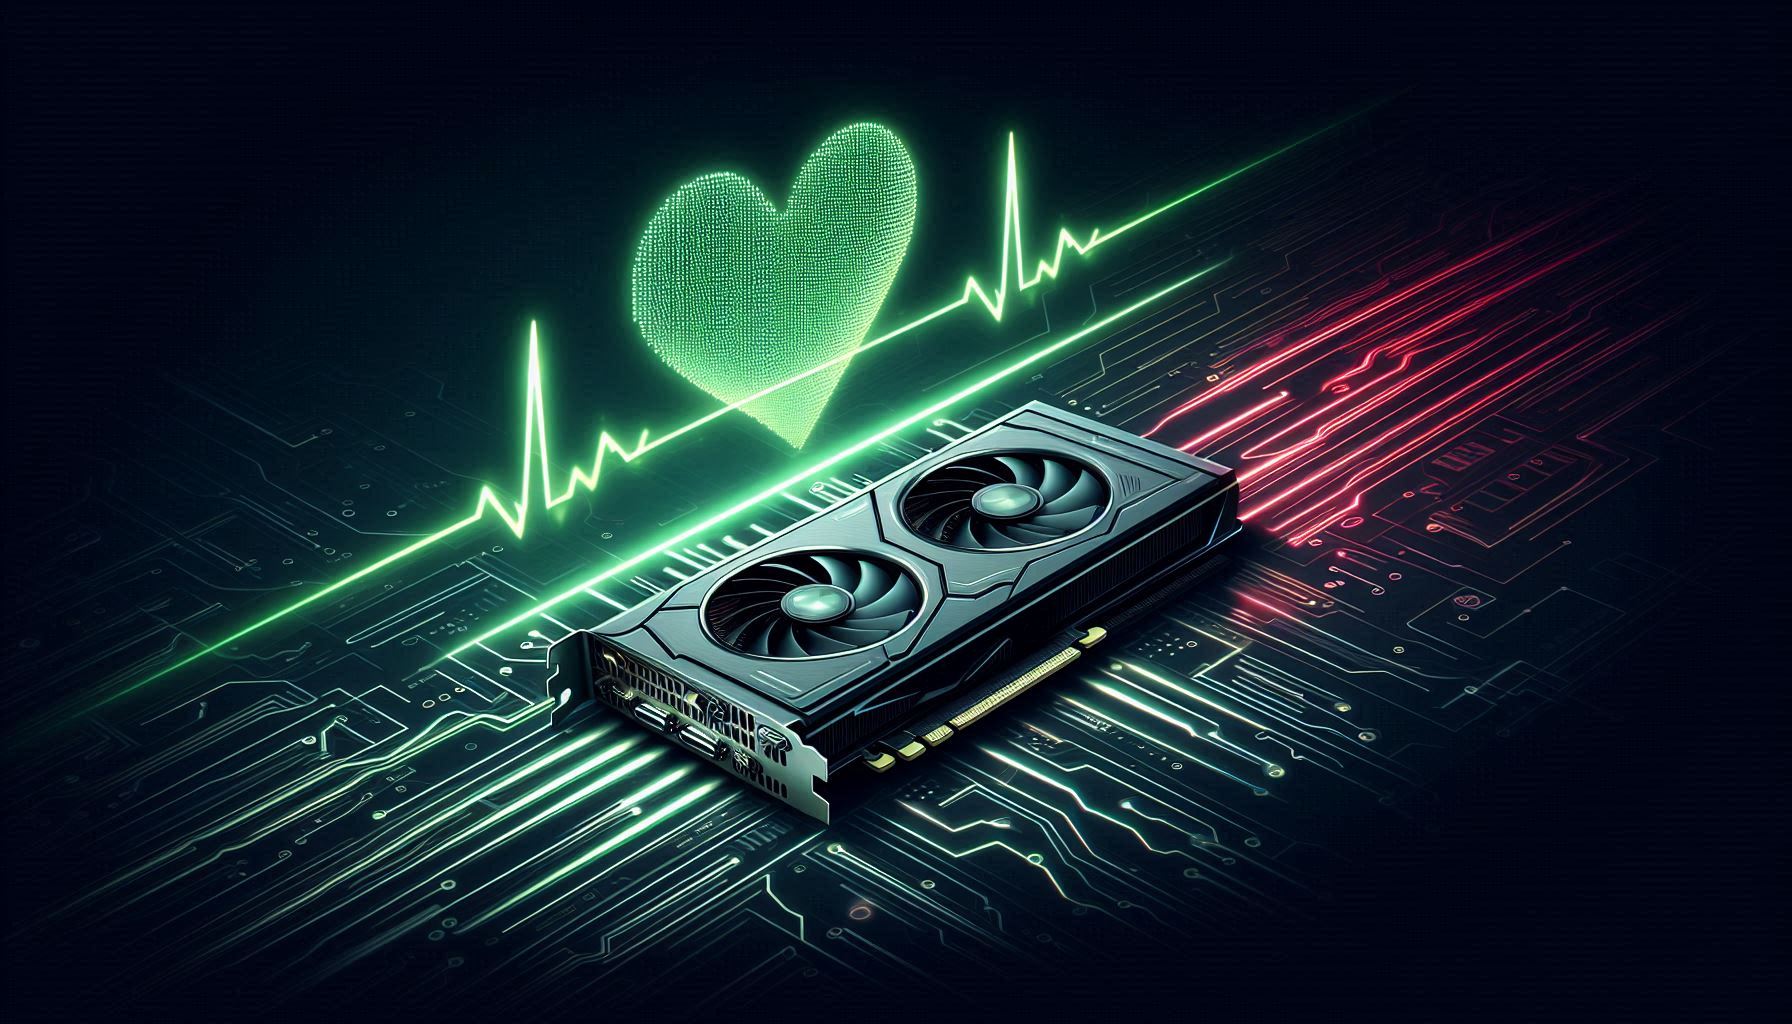
Step 1: Task Manager — The Quick Pulse Check
Task Manager in Windows 11 has a dedicated GPU monitoring section that most people either don’t know about or misread. Let’s fix that.
Open Task Manager:
Ctrl + Shift + Esc → Performance tab → GPU
You’ll see several metrics. Here’s what actually matters:
GPU Utilization (%): This shows how hard your GPU is working right now. At idle — sitting on the desktop with no games or heavy apps running — this should be below 5%. If it’s sitting at 20-30% with nothing open, something is eating GPU resources in the background. Common culprits: your browser hardware acceleration, a crypto miner hiding in a bad extension, or a stuck process.
GPU Temperature: This is the single most important number for health. At idle, a healthy GPU sits between 30-50°C depending on your cooling setup. If your idle temperature is above 60°C, you have a cooling problem — dust buildup, dead fans, or dried-out thermal paste.
Dedicated GPU Memory: This shows how much of your GPU’s own VRAM is being used. At idle, it’s usually 500 MB to 1.5 GB because Windows uses some VRAM for the desktop compositor. If it’s maxed out at idle, a background process is leaking VRAM.
Shared GPU Memory: This is system RAM that Windows borrows for the GPU when VRAM runs out. If this number is consistently high during gaming, your GPU doesn’t have enough VRAM for what you’re running, and performance will suffer.
The misread that catches people: Task Manager shows multiple “engines” under GPU — 3D, Copy, Video Decode, Video Encode. People see one engine at 100% and panic. That’s normal. If you’re gaming, the 3D engine will be near 100%. If you’re watching a video, Video Decode might spike. What matters is the overall utilization and temperature, not individual engine percentages.
Step 2: DXDIAG — The Driver and Configuration Check
DXDIAG (DirectX Diagnostic Tool) has been in Windows since the DirectX era, and it’s still one of the fastest ways to verify your GPU driver status and check for configuration problems.
Open DXDIAG:
Press Win + R → type dxdiag → press Enter
Click the Display tab (or Display 1 / Display 2 if you have multiple monitors).
Here you’ll find:
- Name — Your GPU model (e.g., NVIDIA GeForce RTX 4070, AMD Radeon RX 7800 XT)
- Manufacturer — NVIDIA, AMD, or Intel
- Driver Version — The installed driver version
- Driver Date — When the driver was released
- DirectX Features — Shows whether DirectDraw, Direct3D, and AGP Texture Acceleration are enabled
The important part is at the bottom: the Notes section.
If it says “No problems found” — your driver and DirectX configuration are functioning correctly.
If it shows errors, they’re usually related to outdated drivers, corrupted driver installations, or missing DirectX components. In that case:
- Visit your GPU manufacturer’s website (nvidia.com/drivers or amd.com/drivers)
- Download the latest driver for your specific GPU model
- Do a clean installation — during the NVIDIA installer, check “Perform a clean installation.” For AMD, use the “Factory Reset” option in the installer.
A note on driver dates: If your driver date is more than 6 months old, update it. GPU driver updates don’t just add features — they fix stability issues and memory leaks that can make your GPU appear unhealthy when it’s actually fine.
Step 3: Event Viewer — The Crash History Your GPU Hopes You Never Find
Event Viewer is the diary Windows keeps about everything that goes wrong. Your GPU’s crashes, timeouts, and recoveries are all logged here. This is where you find patterns that Task Manager can’t show you.
Open Event Viewer:
Press Win + X → select Event Viewer
Navigate to:
Windows Logs → System
Now filter for display-related events:
Click "Filter Current Log" (right panel) → Event sources → select "Display"
You’re looking for Warning and Error events. The most telling one is:
Event ID 4101: “Display driver [name] stopped responding and has successfully recovered.”
This means your GPU froze — the display driver stopped communicating with Windows — and Windows had to reset it. You probably noticed this as a brief screen flicker or a momentary black screen, possibly with a notification in the bottom-right corner.
Occasional Event ID 4101 (once every few weeks): Probably a driver bug or a momentary resource spike. Not alarming on its own. Update your driver and monitor.
Frequent Event ID 4101 (multiple times per week or daily): This is a red flag. It can mean:
- Overheating — The GPU gets too hot and stops responding
- VRAM degradation — Memory cells on the GPU are failing
- Power delivery issues — The PSU can’t supply stable power under load
- Dying GPU — The graphics processor itself is degrading
For NVIDIA GPUs, the driver name in the log will be nvlddmkm. For AMD GPUs, it’s atikmpag or amdkmdap. For Intel integrated graphics, it’s igdkmd64.
If you see a pattern — like crashes always happening during gaming or during specific applications — that narrows the cause. Game crashes point to overheating or VRAM issues. Desktop crashes point to driver corruption or hardware failure.
Step 4: FurMark — The Stress Test That Doesn’t Hold Back
Task Manager and Event Viewer tell you about the past and present. A stress test tells you about the future — whether your GPU can handle sustained maximum load without failing.
FurMark is the go-to GPU stress test. It renders a furry donut (seriously) that pushes your GPU to absolute maximum load. It’s free, it’s brutal, and it will expose thermal and stability problems that normal gaming might not.
Download FurMark from the official site: geeks3d.com
Don’t download it from random mirror sites — there are fake versions bundled with malware.
How to run the stress test:
- Close all other applications
- Open FurMark
- Select your display resolution (use your monitor’s native resolution)
- Click “GPU Stress Test”
- Let it run for 15-20 minutes
What to watch during the test:
Temperature graph: FurMark shows a real-time temperature graph at the bottom. Within the first 5 minutes, your GPU temperature will climb rapidly and then plateau at its maximum sustained temperature. This plateau is what matters.
- Below 80°C: Excellent. Your cooling system is working well.
- 80-85°C: Good. Normal for most GPUs under maximum synthetic load.
- 85-90°C: Acceptable but warm. Consider improving airflow or cleaning dust from the heatsink.
- Above 90°C: Too hot. Your GPU is likely thermal throttling (reducing clock speed to lower temperature). This needs attention — clean the heatsink, replace thermal paste, or improve case airflow.
- Above 95°C: Dangerous territory. Stop the test. Your GPU is at risk of long-term damage.
Stability: If FurMark crashes, your screen goes black, or you get a blue screen during the test, your GPU has a stability problem. This could be thermal (overheating), electrical (power supply can’t handle the load), or hardware (GPU itself is failing).
Visual artifacts during the test: If you see colored dots, flickering pixels, screen tearing, or distorted textures on the furry donut, your GPU’s rendering pipeline or VRAM has problems. Artifacts during a stress test are a strong indicator of hardware degradation.
A word of caution: FurMark pushes your GPU harder than any game will. Some people argue this is unnecessarily extreme. But that’s exactly the point — if your GPU can survive 20 minutes of FurMark without overheating or crashing, it can handle anything you’ll throw at it in real-world use.
Step 5: GPU-Z — Long-Term Monitoring
GPU-Z is a lightweight tool from TechPowerUp that shows every detail about your GPU in real time. While Task Manager gives you a dashboard, GPU-Z gives you the full diagnostic readout.
Download GPU-Z from techpowerup.com/gpuz/
Open it and you’ll see two tabs:
Graphics Card tab: Shows your GPU model, BIOS version, driver version, memory type (GDDR6, GDDR6X), memory size, bus width, and clock speeds. This is useful for verifying that your GPU is running at its advertised specifications. If the clock speeds or memory size don’t match your GPU model’s official specs, something is wrong — either the BIOS is modified (common in used cards from mining operations) or the card isn’t what it claims to be.
Sensors tab: This is the monitoring goldmine. Real-time readings for:
- GPU Temperature — Current and maximum recorded
- GPU Clock — The actual operating frequency (compare to your GPU’s listed boost clock)
- Memory Clock — VRAM operating frequency
- GPU Load — Current utilization percentage
- Memory Used — Current VRAM consumption
- Fan Speed (%) — How fast the fan is spinning relative to its maximum
- Fan Speed (RPM) — Actual rotations per minute
- Power Consumption — How much power the GPU is drawing in watts
- GPU Voltage — Current operating voltage
How to use GPU-Z for health monitoring:
Leave GPU-Z running in the background while you play a demanding game for 30-60 minutes. After your session, check these things:
- Maximum temperature: Was it below 90°C? If yes, thermal health is fine.
- Clock speed consistency: Did the GPU clock stay near its advertised boost clock throughout the session? If it dropped significantly (more than 200 MHz below boost clock), the GPU is thermal throttling — getting too hot and slowing itself down.
- Fan speed at max temp: If the fan hit 100% and the temperature was still above 85°C, the cooling system is struggling. It might be time to clean the heatsink or replace the thermal paste.
- Power draw: Compare this to your GPU’s TDP (Thermal Design Power) rating. If the GPU is drawing significantly less power than its TDP under full load, it might be power-limited — your PSU might not be supplying enough power.
Bonus: Physical Inspection
Software tools can’t tell you everything. Once a year (or whenever you clean your PC), take a look at your GPU physically.
Check the fans. Power on your PC with the side panel off and watch the GPU fans. Do they spin? Do they spin smoothly or wobble? A fan that doesn’t spin or makes grinding noises needs replacement. Many GPUs have “zero RPM” mode where fans stop at idle temperatures — that’s normal. But they should kick in when the GPU gets warm.
Check for dust. Dust accumulation on the heatsink fins blocks airflow and traps heat. Use compressed air (short bursts, hold the fan blade still while cleaning to avoid damaging the bearing) to blow out dust from the heatsink.
Check for physical damage. Look for burn marks, bulging capacitors, or discolored spots on the circuit board visible through the backplate holes. These indicate electrical damage.
Check the thermal paste age. If your GPU is more than 3 years old and running hotter than it used to, the thermal paste between the GPU die and the heatsink has likely dried out. Replacing it can drop temperatures by 10-15°C. This requires removing the heatsink — only do this if you’re comfortable with hardware disassembly, or take it to a technician.
The Verdict: How to Interpret Your Results
After running through all five steps, you’ll have a clear picture of your GPU’s health. Here’s a quick reference:
Healthy GPU: Idle temp below 50°C, load temp below 85°C, no Event ID 4101 errors, no artifacts during stress test, clock speeds maintain boost frequency under load, DXDIAG reports no problems.
GPU needing attention: Idle temp 50-65°C, load temp 85-92°C, occasional driver timeouts in Event Viewer, minor clock speed drops during load. Action: clean dust, improve airflow, update drivers, consider replacing thermal paste.
GPU in trouble: Idle temp above 65°C, load temp above 92°C, frequent driver crashes, visual artifacts during stress test or gaming, significant clock speed drops. Action: replace thermal paste, check power supply stability, consider the GPU may be approaching end of life.
GPU actively failing: Artifacts on desktop (not just in games), system crashes or blue screens during basic tasks, fans not spinning or making grinding noises, DXDIAG reports problems, constant Event ID 4101 errors. Action: back up your data, prepare for GPU replacement, avoid running demanding workloads that could cause complete failure.